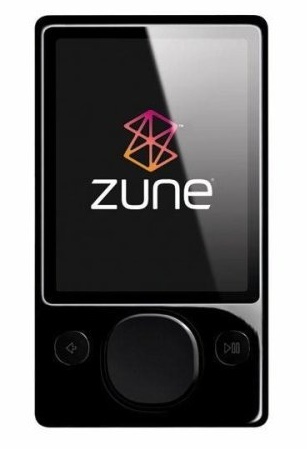
The Microsoft Zune was a digital media player that competed with the Apple iPod in the late 2000s. It was launched in November 2006 and discontinued in June 2012. Here’s a breakdown of the Zune:
What it was:
- A line of portable media players with storage capacities ranging from 30GB to 128GB.
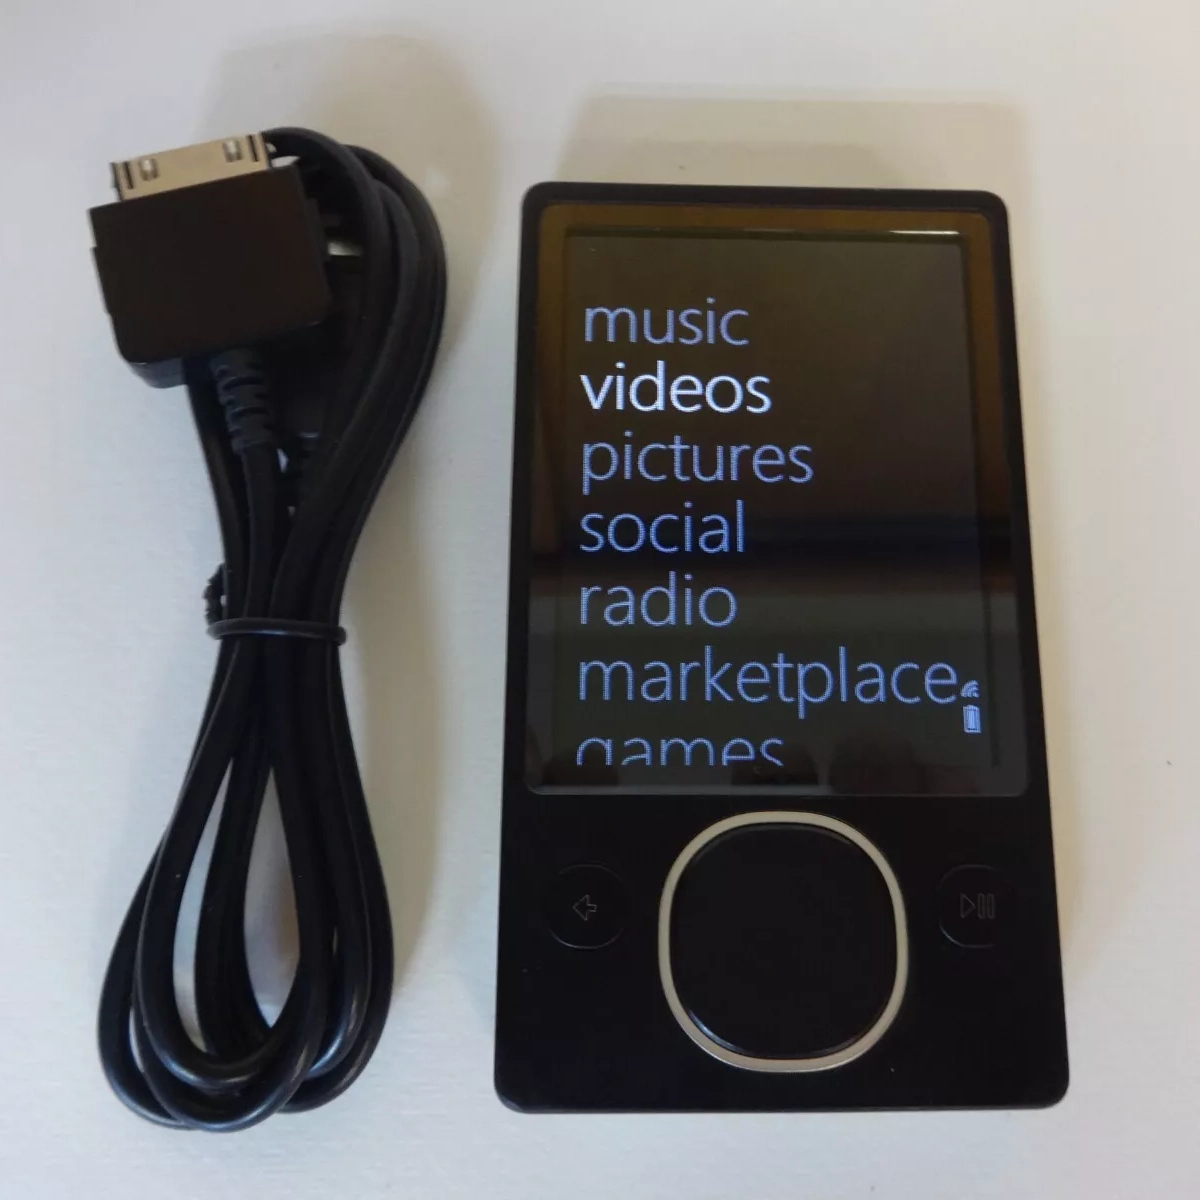
- Offered features like music and video playback, photo viewing, and FM radio (unlike the iPod).
- Had a focus on social features, allowing users to share music and pictures wirelessly with other Zune devices.
Other Zune products and services:
- Zune Marketplace: A platform to buy music, videos, and games.
- Zune Music Pass: A subscription service for streaming music.
- Zune software: Used for managing media on your PC, syncing content to your Zune device, and accessing the Zune Marketplace.
Why it wasn’t as successful as the iPod:
- Entered the market later than the iPod, which already had a strong user base.
- Zune software was tied to Windows PCs, limiting its reach.
- Marketing focused heavily on social features that may not have been of interest to everyone.
Today:
- Zune devices are discontinued and considered collector’s items.
- You can still find some used Zune players online eBay.
In case you have encountered some problems with your Zune, here is a guide on how to repair Zune media player.
Disassembling the Gen1 Microsoft Zune 30GB Digital Media Player:
- Prepare for tools like flathead exacto razor, safe open case tool and a Phillips screw driver to open your Zune.
- First you need to remove the dock port spacer using the flathead razor located below the unit. Flip the dock port spacer on the side.
- You can now remove the 2 screws on each side using a Phillips screw driver.
- Use the safe open case tool between the small gaps to open the casing safely. Do not force to open the case on the headphone jack part because you might break the board area.
- You can now remove the rear casing to gain access on the battery and hard drive panels.
- To remove the hard disk, remove the 4 screws surrounding it.
- Flip up the battery clip to remove the batteries.
- Remove the connector slip for the click wheel and the battery.
- After removing the hard drive, you will have the access to the rest of the screws in the board to get to the LCD screen and click wheel.
- You can remove the 6 screws to pull out the board from the front panel.
- Remove the 4 clips holding the LCD screen to the board. Do not force to remove the LCD without removing the clips.
- You now replace some parts in the front panel like the click wheel which can be easily removed because there are no screws holding it.
- All the parts can now be disassembled after removing the front panel. Reassemble the parts the way they were placed before.
Disassembling the Microsoft Zune 2 80gb Digital Media Player:
- The tools needed are T-4 screw drivers, safe open case tool flathead exacto razor.
- Remove the top plastic insert on the top of the unit to access the 2 T-4 screws.
- You can now remove the aluminum backing using the safe open tool.
- Remove the tape holding the battery and the hard drive.
- Take out the 2 screws holding the headphone jack.
- Then, you can remove the 80gb hard drive while carefully unclip the HD cable.
- Remove the battery from its place. If you are replacing the battery you need a soldering iron to remove it.
- Carefully take out the round tape holding the wireless antenna assembly because it has a cable below it.
- Remove the 4 T-4 screws to access the board.
- Pull the wireless antenna from the board then remove the clip to take out the orange cable under a silver screw clip.
- Carefully lift the LCD screen clip. Take out the plastic clips then use an exacto or flathead razor to gently lift up each side of the LCD screen.
- Reassemble the parts accordingly.
While this guide provides a comprehensive breakdown of disassembling a Zune player, it’s important to consider some factors before diving into repairs yourself. Firstly, since Zunes are discontinued, replacement parts may be scarce and difficult to source. Secondly, working on electronic devices, especially those with delicate components like screens and circuit boards, can be risky if you lack experience. One wrong move could lead to permanent damage.
Here are some alternative solutions to consider:
- Seek professional help: For complex repairs or if you’re unsure about your abilities, consider taking your Zune to a qualified technician. They’ll have the expertise and tools to diagnose the problem and fix it efficiently, potentially saving you time and frustration.
- Explore recycling options: If your Zune is beyond repair or you’re simply ready for an upgrade, there might be electronics recycling programs in your area that responsibly dispose of e-waste. This is a more eco-friendly option than throwing your Zune away.
- Look into a new media player: With the Zune being discontinued in 2012, technology has significantly advanced. Consider the features most important to you in a media player and explore the vast array of new options available from reputable brands. You might be surprised by the capabilities and user experience offered by modern players.
The Microsoft Zune was a digital media player that competed with the Apple iPod in the late 2000s. It was launched in November 2006 and discontinued in June 2012. Here’s a breakdown of the Zune:
What it was:
- A line of portable media players with storage capacities ranging from 30GB to 128GB.
- Offered features like music and video playback, photo viewing, and FM radio (unlike the iPod).
- Had a focus on social features, allowing users to share music and pictures wirelessly with other Zune devices.
Other Zune products and services:
- Zune Marketplace: A platform to buy music, videos, and games.
- Zune Music Pass: A subscription service for streaming music.
- Zune software: Used for managing media on your PC, syncing content to your Zune device, and accessing the Zune Marketplace.
Why it wasn’t as successful as the iPod:
- Entered the market later than the iPod, which already had a strong user base.
- Zune software was tied to Windows PCs, limiting its reach.
- Marketing focused heavily on social features that may not have been of interest to everyone.
Today:
- Zune devices are discontinued and considered collector’s items.
- You can still find some used Zune players online eBay.
In case you have encountered some problems with your Zune, here is a guide on how to repair Zune media player.
Disassembling the Gen1 Microsoft Zune 30GB Digital Media Player:
- Prepare for tools like flathead exacto razor, safe open case tool and a Phillips screw driver to open your Zune.
- First you need to remove the dock port spacer using the flathead razor located below the unit. Flip the dock port spacer on the side.
- You can now remove the 2 screws on each side using a Phillips screw driver.
- Use the safe open case tool between the small gaps to open the casing safely. Do not force to open the case on the headphone jack part because you might break the board area.
- You can now remove the rear casing to gain access on the battery and hard drive panels.
- To remove the hard disk, remove the 4 screws surrounding it.
- Flip up the battery clip to remove the batteries.
- Remove the connector slip for the click wheel and the battery.
- After removing the hard drive, you will have the access to the rest of the screws in the board to get to the LCD screen and click wheel.
- You can remove the 6 screws to pull out the board from the front panel.
- Remove the 4 clips holding the LCD screen to the board. Do not force to remove the LCD without removing the clips.
- You now replace some parts in the front panel like the click wheel which can be easily removed because there are no screws holding it.
- All the parts can now be disassembled after removing the front panel. Reassemble the parts the way they were placed before.
Disassembling the Microsoft Zune 2 80gb Digital Media Player:
- The tools needed are T-4 screw drivers, safe open case tool flathead exacto razor.
- Remove the top plastic insert on the top of the unit to access the 2 T-4 screws.
- You can now remove the aluminum backing using the safe open tool.
- Remove the tape holding the battery and the hard drive.
- Take out the 2 screws holding the headphone jack.
- Then, you can remove the 80gb hard drive while carefully unclip the HD cable.
- Remove the battery from its place. If you are replacing the battery you need a soldering iron to remove it.
- Carefully take out the round tape holding the wireless antenna assembly because it has a cable below it.
- Remove the 4 T-4 screws to access the board.
- Pull the wireless antenna from the board then remove the clip to take out the orange cable under a silver screw clip.
- Carefully lift the LCD screen clip. Take out the plastic clips then use an exacto or flathead razor to gently lift up each side of the LCD screen.
- Reassemble the parts accordingly.
While this guide provides a comprehensive breakdown of disassembling a Zune player, it’s important to consider some factors before diving into repairs yourself. Firstly, since Zunes are discontinued, replacement parts may be scarce and difficult to source. Secondly, working on electronic devices, especially those with delicate components like screens and circuit boards, can be risky if you lack experience. One wrong move could lead to permanent damage.
Here are some alternative solutions to consider:
- Seek professional help: For complex repairs or if you’re unsure about your abilities, consider taking your Zune to a qualified technician. They’ll have the expertise and tools to diagnose the problem and fix it efficiently, potentially saving you time and frustration.
- Explore recycling options: If your Zune is beyond repair or you’re simply ready for an upgrade, there might be electronics recycling programs in your area that responsibly dispose of e-waste. This is a more eco-friendly option than throwing your Zune away.
- Look into a new media player: With the Zune being discontinued in 2012, technology has significantly advanced. Consider the features most important to you in a media player and explore the vast array of new options available from reputable brands. You might be surprised by the capabilities and user experience offered by modern players.
